
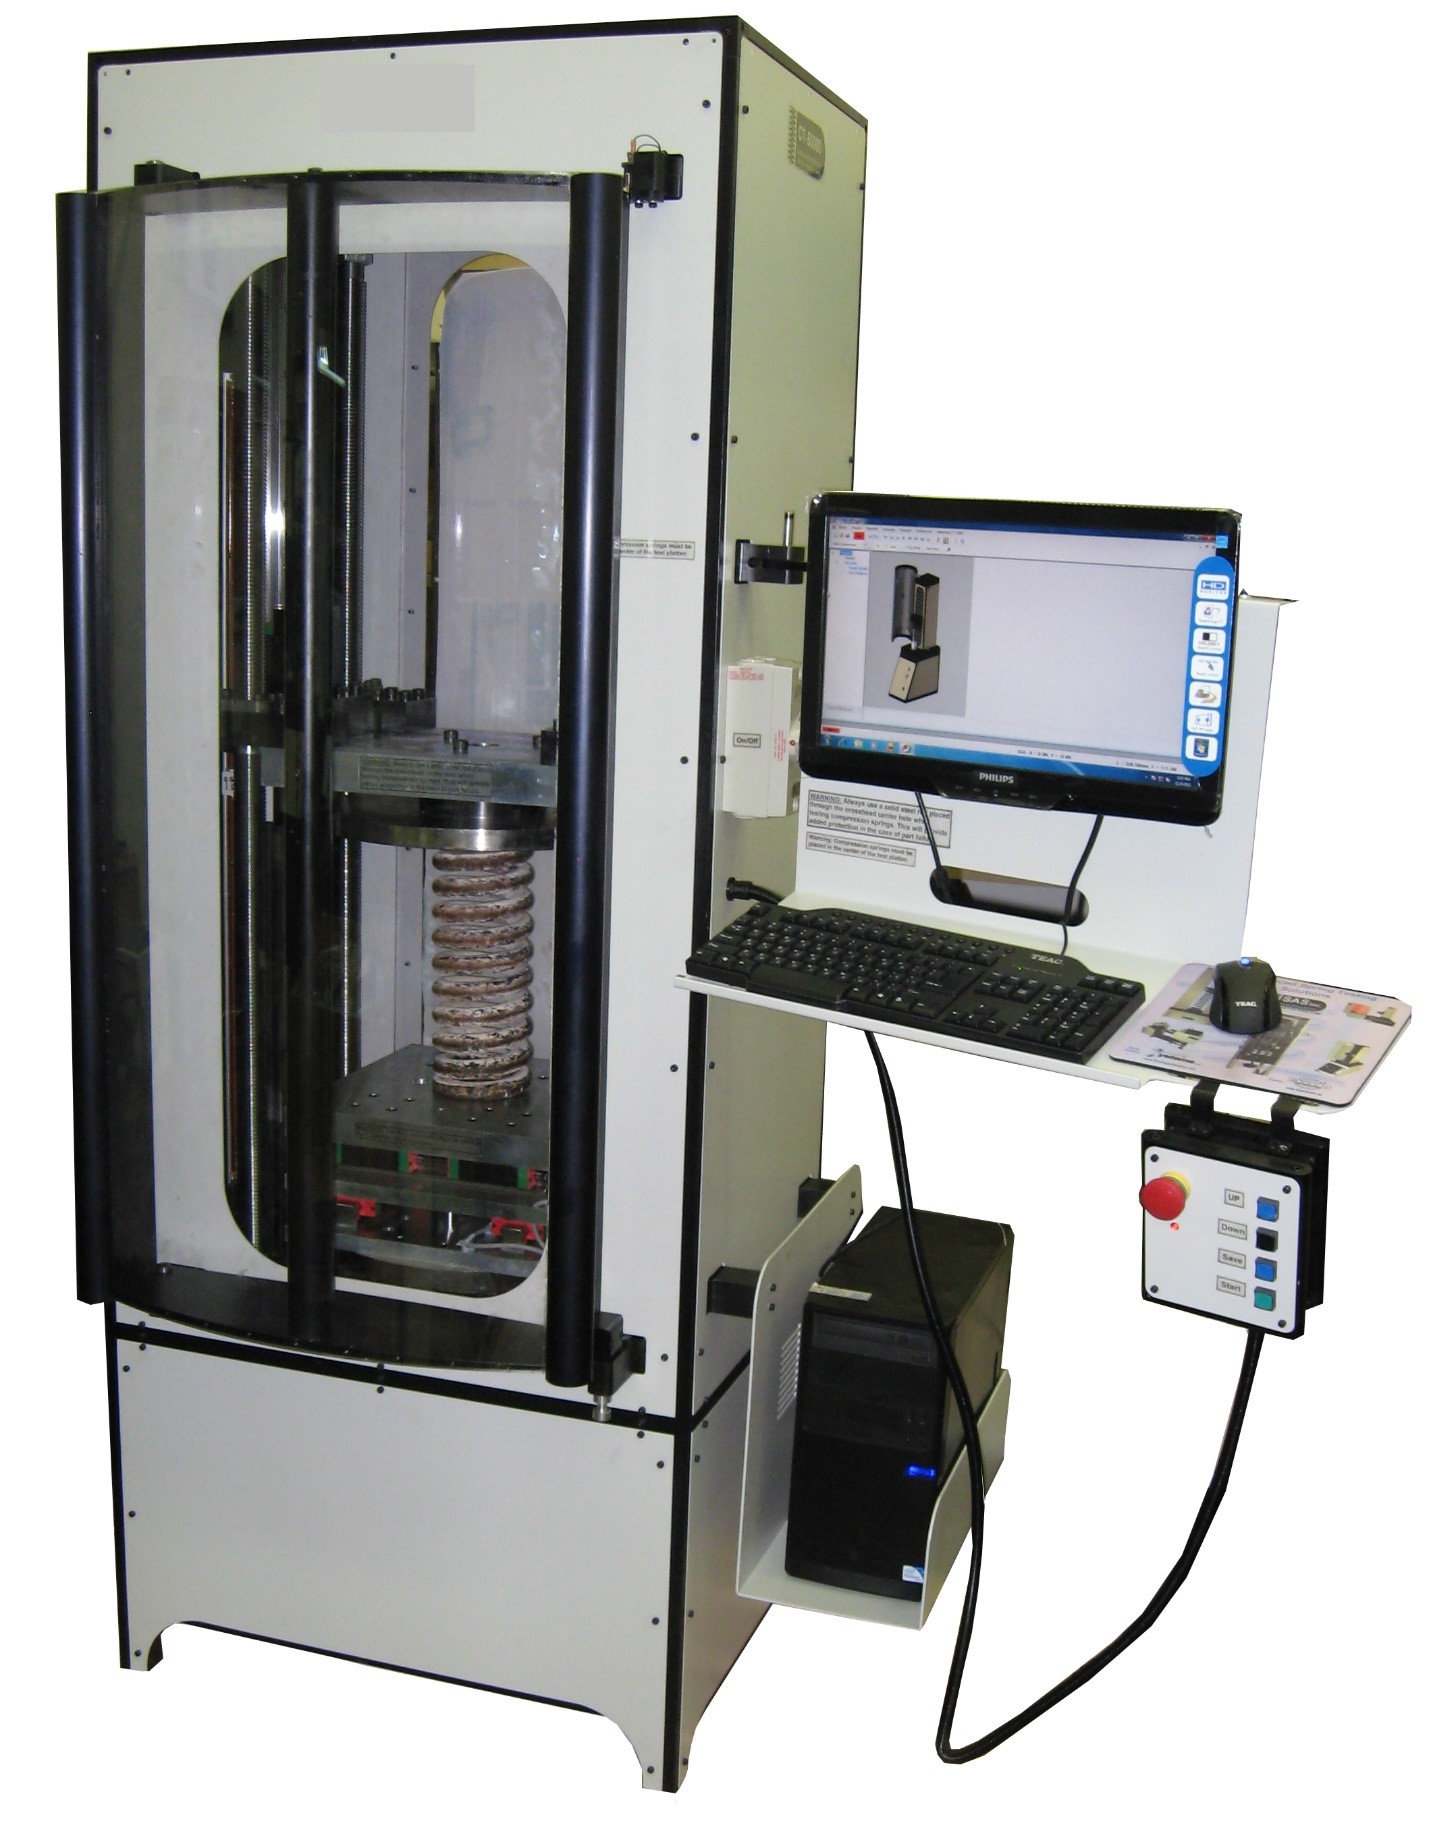
You shipped a lot of compression springs. Your final inspection said every part held load at 30.0 lbf, plus or minus 5%. Two days later the customer’s receiving inspection calls: half the lot is reading low, and they want to talk about a return.
Nobody is lying, and nobody’s tester is necessarily broken. More often than not, two labs are measuring slightly different things and calling it the same number. A spring rate that looks tight on paper leaves very little room for differences in setup, and those differences add up fast.
This article walks through the most common reasons supplier and customer spring test results disagree, roughly in the order we’d check them, and how to run a correlation study that settles the question with data instead of phone calls.
Start with the height reference
If two load readings disagree, check where each tester thinks “zero” is before you check anything else. A spring load is only meaningful at a specified height, and the height is only meaningful relative to a reference point.
Take a compression spring with a rate of 50 lbf/in. A 0.010 in disagreement about where the test height actually is produces a 0.5 lbf difference in load. On a 30 lbf spec with a 5% tolerance, that’s a third of your ±1.5 lbf allowance gone before anyone has done anything wrong.
How testers find zero
Most testers establish the reference in one of three ways:
- Measuring the free length and calculating test height from it
- Using a touch point, where the platen advances until it senses a small trigger load
- Referencing a fixed, calibrated distance between platens
Each method is valid. They just don’t produce the same answer on a real spring, because real springs have ground ends that aren’t perfectly square, tips that touch first, and coils that seat as load comes on. A touch-point trigger set at 0.2 lbf on one machine and 1.0 lbf on another will place zero in different spots on a light spring.
What to agree on
The print should say how test height is established, not just what it is. If it doesn’t, get it in writing with your customer: absolute height between platens, or deflection from a measured free length, and what trigger load defines contact. That one conversation resolves a surprising share of correlation disputes.
Fixtures, platens, and friction
Once the height reference is settled, look at what’s physically touching the spring.
Platen parallelism
If the platens aren’t parallel, the spring loads unevenly. One side of the end coil seats early, the spring tilts, and the reading shifts. Parallelism drifts over time on any machine, and it rarely gets checked unless someone goes looking. A quick check with a height gauge at several points around the platen face is worth doing before any correlation study.
Guide pins and sleeves
Long compression springs with a high slenderness ratio often need a guide pin or sleeve to keep them from buckling. That guide adds friction. If your lab tests on a guide pin and the customer tests free-standing, or uses a pin with a tighter clearance, you’re not measuring the same thing. The pin can drag the spring, and a spring that wants to bow will press against it harder as deflection increases.
Extension spring hooks
For extension springs, hook fixtures matter more than most people expect. A hook seated on a sharp-edged pin behaves differently from one seated on a large-radius pin, and a fixture that lets the hook rotate or slide will change the effective length. Ask your customer what their fixtures look like. Photos help.
How the spring gets to test height
Two testers can agree on the reference, use identical fixtures, and still disagree because of the path the spring took to get there.
Loading versus unloading
If you’ve looked at a full force-deflection curve, you’ve seen that the loading and unloading lines don’t sit exactly on top of each other. That gap is hysteresis, caused mostly by friction between coils, against fixtures, and at the ends. A reading taken while compressing to test height will usually be a little higher than one taken while returning to the same height. If one lab overshoots and comes back, and the other approaches directly, they’ll disagree by the width of that loop.
Pre-cycling
Many test procedures call for compressing the spring to solid, or to a set height, once or several times before taking the reading. This seats the ends and settles the coils. Skipping it, or doing it a different number of times, changes the result. A spring that hasn’t been fully set during manufacturing will show the biggest difference, since the first compression to solid can take a permanent set and shift every reading after it.
Test speed and dwell
Speed matters less for steel springs than for elastomers, but it isn’t zero. Faster approach can overshoot the target height on machines with slower control loops, and dynamic friction in the fixture differs from static friction. A short dwell at test height before recording lets the reading stabilize. Write down speed and dwell in the procedure so both sides match.
The tester itself
If setup and procedure match and the numbers still don’t, it’s time to look at the machines.
Frame compliance
Every test frame deflects a little under load. The crosshead, the load cell, and the platens all compress or bend. If the machine measures position from the drive rather than at the platens, some of the travel it reports is the frame flexing, not the spring compressing. On a stiff spring with a high load, that error can be several thousandths of an inch, which feeds straight back into the height problem from earlier.
Better testers either measure displacement close to the specimen or apply a compliance correction based on a measured frame stiffness. If one side’s machine corrects for compliance and the other doesn’t, expect them to disagree more as spring rate goes up.
Load cell sizing
A load cell is most accurate in the middle of its range. Testing a 5 lbf spring on a 500 lbf cell means you’re reading near the bottom, where resolution and zero drift eat a larger share of the number. A good rule of thumb is to keep test loads well above the bottom 10% of the cell’s capacity, and to check what accuracy class the cell is verified to at that end of its range. If your customer tests light springs on a heavy-duty frame, that alone can explain the gap.
Calibration is necessary, not sufficient
The first question in any dispute is usually “when was your tester last calibrated?” It’s a fair question, and both sides should be able to show a current certificate. Force verification is typically done to ASTM E4 or ISO 7500-1, and those standards define the acceptable error across the verified range.
But a calibration certificate says the load cell reads force correctly. It doesn’t say anything about platen parallelism, touch-point settings, guide pin friction, or how your operators approach test height. Two perfectly calibrated testers can still disagree on a spring. Calibration rules out one cause. It doesn’t settle the argument.
Running a correlation study
When results don’t line up, the fastest way out is a structured comparison on the same physical parts.
- Pull 10 to 20 springs from the disputed lot and mark each one with a serial number.
- Test them on your machine using your normal procedure. Record load at every specified height, plus free length.
- Send the same springs to your customer, along with a written copy of your procedure.
- Have them test the same parts their normal way, then again following your procedure exactly.
- Get the parts back and retest them on your machine to confirm nothing changed in transit or from extra cycling.
- Compare results spring by spring, not as lot averages.
The pattern in the data usually points to the cause. A constant offset across all springs suggests a height reference or zero difference. An offset that grows with load points to frame compliance or load cell range. Scatter that disappears when the customer follows your procedure tells you the problem was method, not machine. Results that shift on your own retest mean the springs themselves are taking set, which is a manufacturing question, not a testing one.
Get ahead of it
The cheapest correlation problem is the one you prevent. When you take on a new spring, especially a high-rate part or one with a tight load tolerance, ask the customer how they test it before the first lot ships. Agree on the height reference, the fixture, the pre-cycle, and the approach direction. Put it on the print or in the quality agreement.
It also helps to build a small set of reference springs, serialized and measured, that both sides can test periodically. If the numbers drift apart, you’ll know about it from a reference part, not a rejected shipment.
The goal isn’t to prove whose tester is right. It’s to make sure two good machines, run by two careful people, are measuring the same thing. When they are, the numbers line up, and the conversation shifts from returns back to the next order.
If you’re chasing a correlation problem now, or want to make sure your testing setup is built to avoid one, talk to RK Trading. As the North American distributor for SAS spring testers, we help spring manufacturers choose, set up, and verify testing systems that hold up when a customer starts asking questions.